I completed the chicken coop project over the past weekend. I did all the work myself except for the assistance of a friend who helped me hoist 5 of the 6 windows into place and fit the entrance door. In previous posts I mentioned my progress on its construction. It is built on sloping ground so I started by using my bobcat to build a level pad, half of which was cut into the slope and the other half was infill from soil removed from the slope. Then with my trencher/stump remover attached to the bobcat I dug drainage trenches on the two sides of the pad which cut into the slope. The building is 18 ft by 10 ft and secured by posts concreted into the ground. Digging the post holes took a lot more time than anticipated since there were a number of largish stones (boulders) which had to be removed and this resulted in some cases in very wide holes. With the posts finally in place, construction went quickly. A time consuming task was digging the trenches between the posts for the cement blocks which I lined up 8″ deep to form my barrier against predator tunnels. I am concerned that predators can dig deeper than 8″ tunnels and will keep a lookout for perimeter activity.
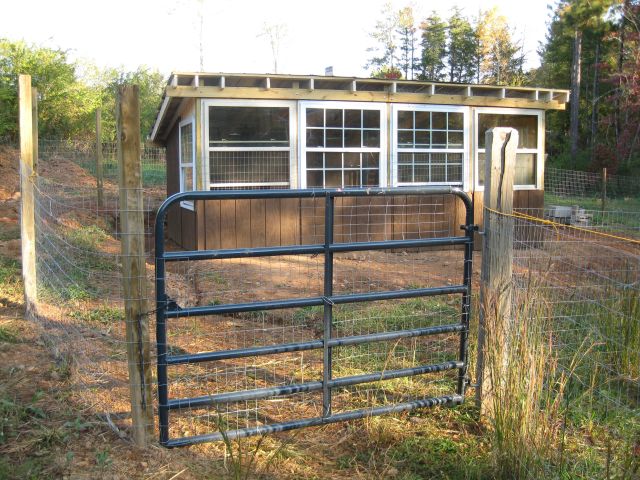
The first photo is the entrance. The only 6ft wide gate available at the time of purchase is for larger animals rather than chicken, so I used some of my fence wire to cover the gaps between the horizontal bars.
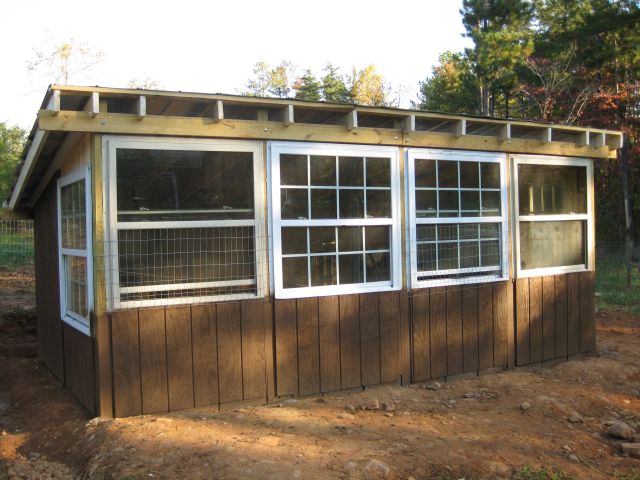
I screened all openings which remained after construction with hardware cloth. I also added the hardware cloth to two of the windows (lower half which opens) so that I can leave the windows ajar during the nights. To attach the cloth to the timber I used a pneumatic stapler (and safety glasses) and this sped up the work considerably.
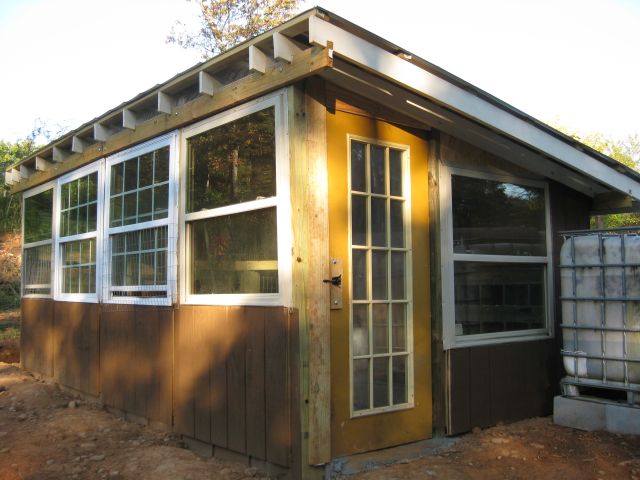
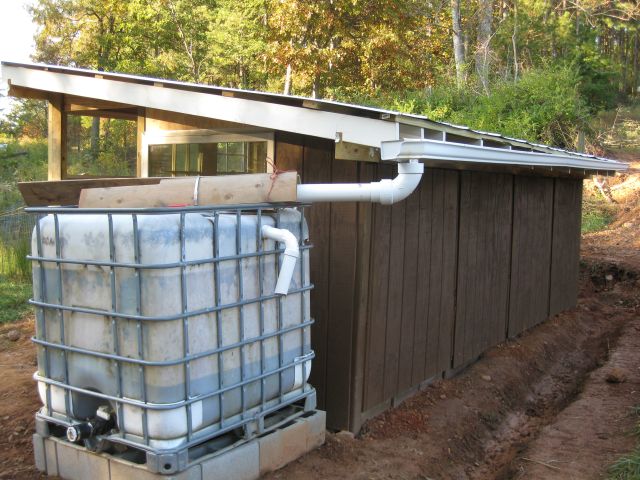
There are a total of 6 windows, four in the front and one on each side. This photo shows the entrance, with my $8 front door purchased from the thrift store and my rainwater storage tank. I will use the rainwater to irrigate the tree and shrub plantings I am installing in the chicken range areas.
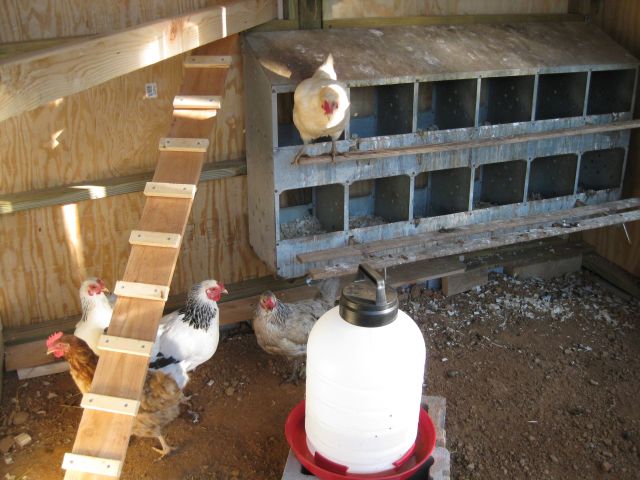
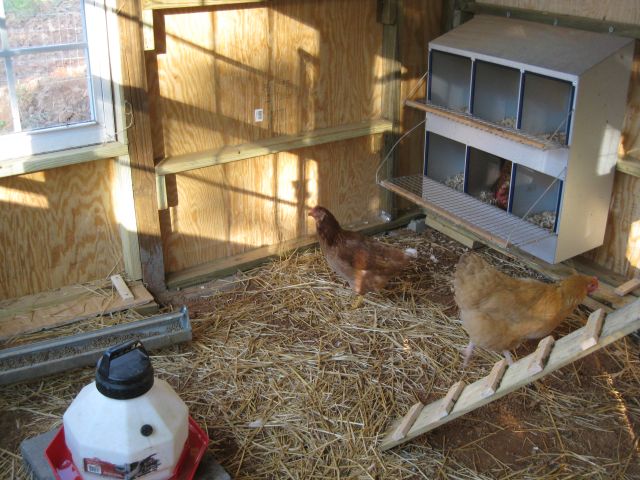
The coop is divided into two halves – one for the 8 younger chicken and the other for the 6 older hens. I intended to keep them all in the one half and use the other for growing and other activities. However, it appeared too cramped and there is still some friction between the two flocks. Each half has its own water container, food container, perches and nesting box. This photo shows the half closest to the entrance in which the 6 older girls now live, and the large nesting box inherited from my neighbor as well as the steps (4.5″ spacing) on the inclined plank to facilitate accessing the perch (horizontal, non pressure treated 2×4 at top left).
The two areas are separated by fencing material and a gate I salvaged.
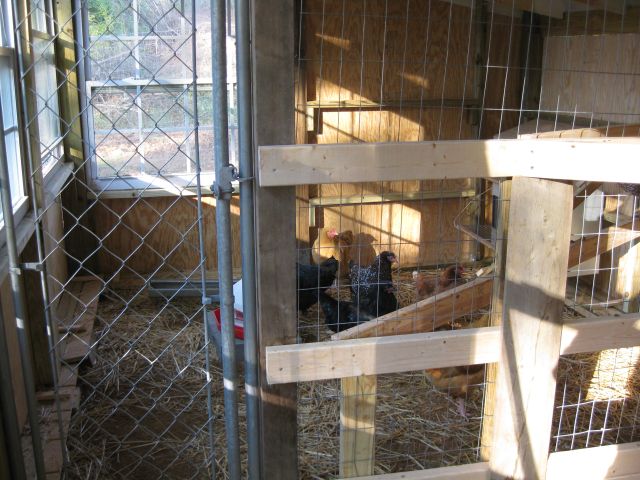
The other half is outfitted much as the first. Incidentally, in one of the nest boxes is a Golden Comet and, I discovered later, she is in the process of laying her first egg. Maybe living in close quarters with the older egg laying hens accelerated the process. The step spacing in this coop is 6″ which I think is a bit too far apart – you can see Lady Macbeth on her way up to the perch.
I spray painted the exterior with a block stain. This photo of the rear of the coop shows the slanting gutter leading to the storage tank and the drainage ditch on the north, slope side, of the coop.
And, finally, this photo shows the west side with the drainage ditch between the slope and the pad on which the coop is built. I have used 4 ft fencing which a number of the birds can easily fly over, but as longer as there is habitat and things to scrounge for they appear content to stay within the fenced areas.
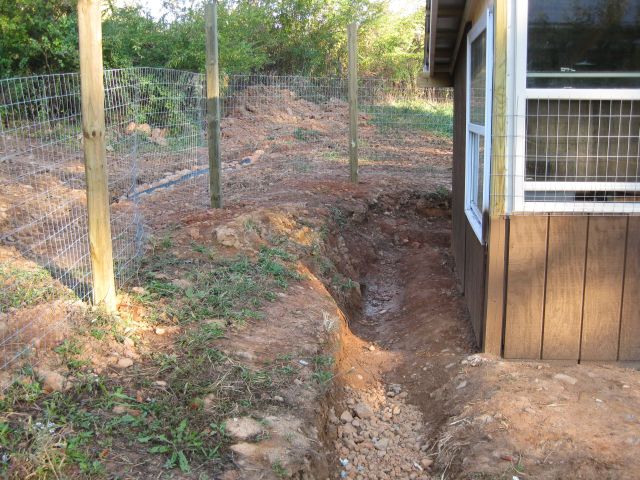
Finally, I must plant up the soil which surrounds the coop before it is eroded by the rains. I may transplant sod from the hill or try seeding it. With temperatures beginning to fall, it may be too late for seeding.

1 thought on “new chicken coop – completed”