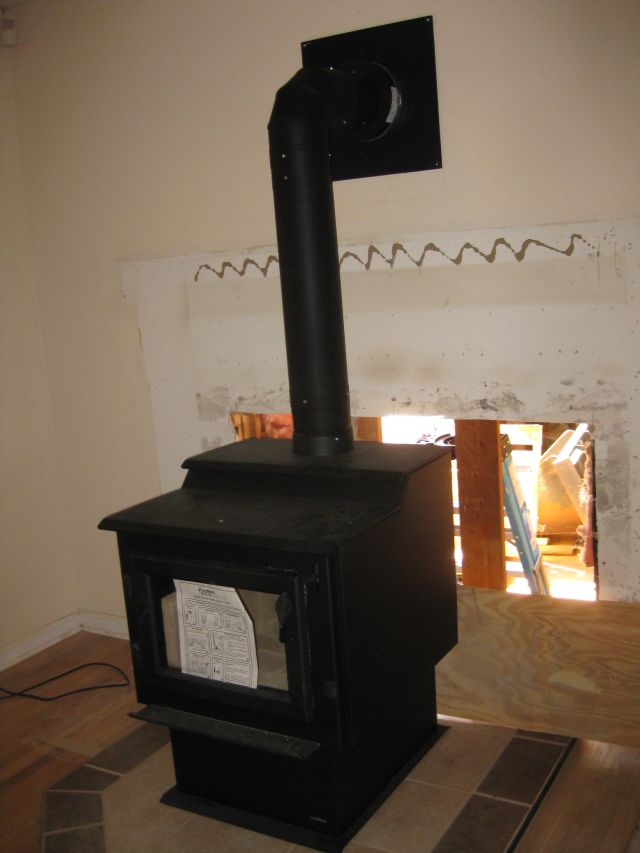
In March 2014 I dedicated two posts to the process of removing the old fireplace and installing a new, efficient wood stove. In the last post the stove was fully functional but looked “bleh”.

I had a lot of work to do – on the exterior the wood siding had deteriorated and had to be replaced and caulked. And then on the inside the question was to either replace the sheetrock, not a real skill of mine, or do something extra. I decided to tile the wall behind the stove, since the tiling would look nice and is not combustible. So I installed cement backer board and spent ages looking for tiles which would match the new hearth pad. I mentioned that the mantle of the old fireplace included good wood, which I decided to re-use for the surround.
So here is the finished product.

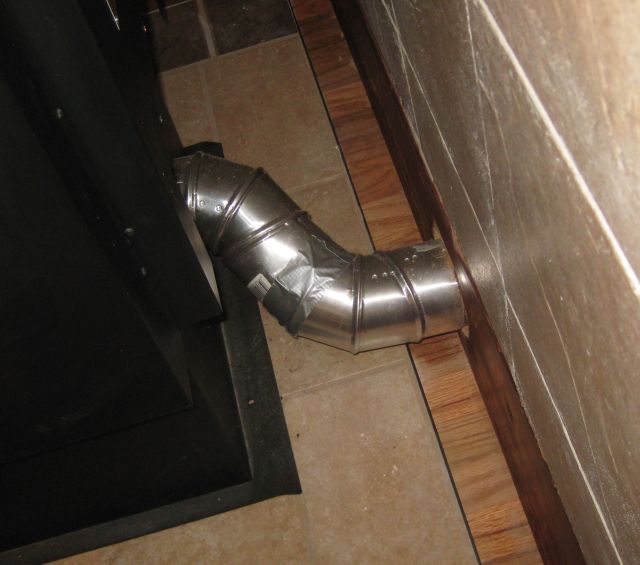
To reduce heat loss I connected the air inlet pipe at the rear of the stove to the exterior so the stove will not consume heated air from the room.

Initially I used the concertina type ducting you install for clothes dryers, but I concluded that the concertina crinkles impeded the air flow and so I replaced that with standard duct piping, which seems to work well.
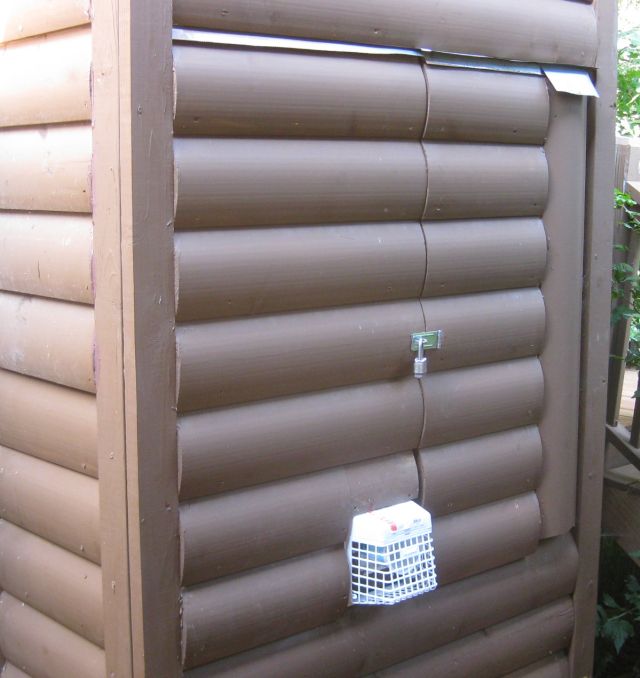
And on the exterior air inlet, I fitted a plastic grate to keep out animals. It is hinged and during the summer, when the stove is not in use, I have also plugged the interior pipe with an empty 1qt yogurt container.

Whilst I was at it, I also installed a small door which provides access to the interior of the chimney chase so I can brush clean the chimney flue pipe, as needed.
